
One of our customers was looking for a pattern to make for her 4-year-old granddaughter. She needed something cute and stylish, but also relatively simple (this was going to be her first garment!). I usually have something in my “pattern library of mental-notes” that works (do I make a written list of these? Nooo…of course not. :-/ ), but this time nothing quite worked. And then our customer found the perfect pattern—the Little Pearl Vest by Gretchen Ronnevick.
This pattern is really brilliant. It’s a little sleeveless dress or vest, and starts with a garter-stitch yoke, followed by a stockinette body. Knit top-down, it’s a great pattern to learn basic garment construction. And guess what…since the top is knit flat, then the bottom is knit in the round, that means that EVERY ROW IS ONLY KNIT STITCHES until you get to the very bottom of the dress and have 2 little rows of purl stitch to set off the bottom edge. I’m telling you, someone needs to grown-up-size this thing…it would be the pattern of the season.
But I do want to talk about one thing in this pattern, and that’s the increases. The yoke increases are indicated as “kfb”, or “knit front & back” of the stitch. Personally, I think kfb is the very easiest increase to do, and I try to work it in as much as I can for other increases. But it does have one drawback…the knit in the back makes a purl bump across the front of your work. Sometimes that’s no big deal. And if I was using a speckled or variegated yarn, it may not matter at all…you wouldn’t be able to see it. But in a solid color, the purl bumps are definitely noticeable. If it were my kid, would I care? No. Would I gift it to someone like that? Maybe not…so that put me on a quest to examine increases.
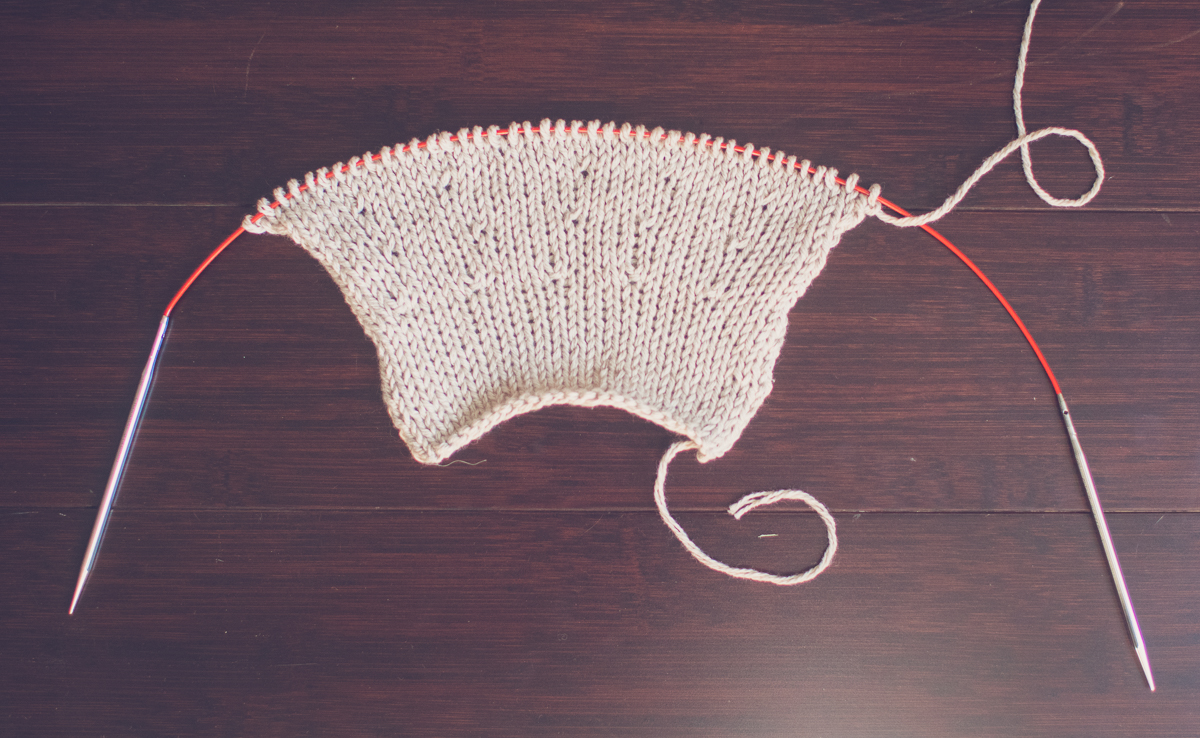
If you ever want to try out different techniques, or fiddle around with two different options to see what works best, guess what? Swatching is best. I know...it's a pain. But I usually grab whatever is nearby (in this case, some leftover Rowan Cotton Cashmere from Charlie's Easter Sweater a year ago...still in my knitting basket downstairs), and whatever needles are handy and just start going. Not much planning goes into a swatch. Here's a pic of my finished swatch (took me about 45 minutes on a conference call):
The goal of an increase is to add a new column of stitches between an existing column of stitches. The first increase I tried was the one called for in the pattern. This is "knit front and back" (kfb). Each stitch has 2 "legs"--the front and back parts of the stitch that fall on either side of your needle as you knit. Usually, we just work the front leg of a stitch, and the back leg hangs out for the ride. To kfb, you knit the front leg of the stitch, but don't slip the old stitch off your left needle yet. Then move your right needle to the back of your work, stick it under the back leg of the stitch still on your left needle, and make another knit stitch there. That's a kfb. It takes more words to explain than it takes time to do--once you learn it, it's easy to execute and doesn't interfere with the flow of your knitting. Here are my kfb increases (the stitches indicated by the red arrows):
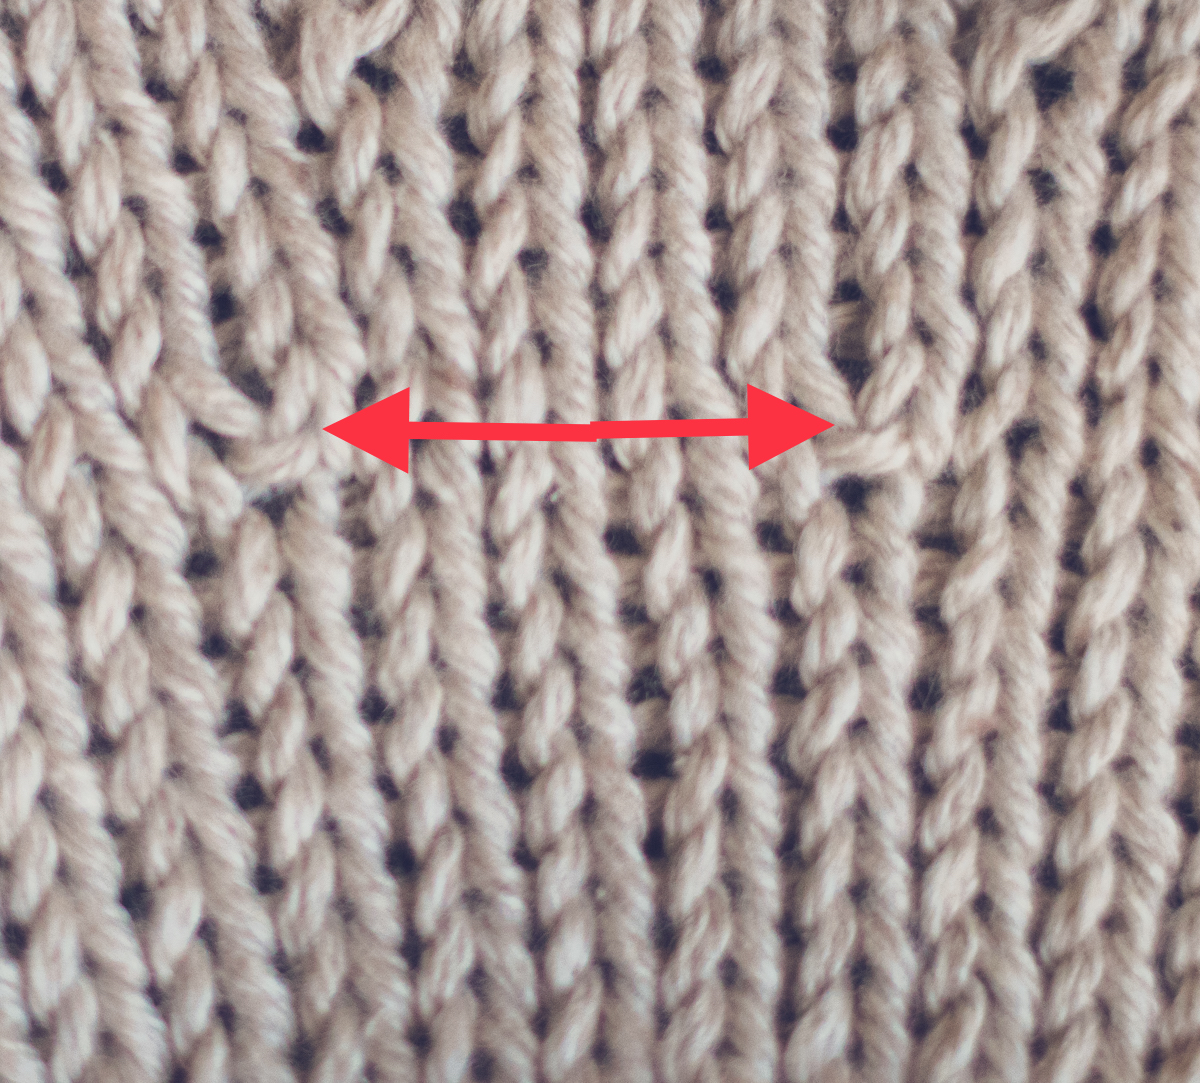
As you can see, those stitches have little wraps around them, where the stitch that was knit twice gets twisted between the two knits. If I'm working lots of increases in a variegated yarn, I might not care--these little wraps are barely noticeable if the yarn is patterned. I've also knit sweaters that use a column of these kfb on a shoulder seam, and it makes a cool pattern on the raglan line. But in a solid color in a field of stockinette (or garter, like my little dress), it creates a little divot in otherwise smooth fabric...and that's where you notice those little wraps.
So what's an alternative? The alternative is "make 1" (m1). When you get into seams and regular increases, you can "make 1 right" (m1r) or "make 1 left" (m1l), which are slightly different, and using the correct right/left can make your increase seam look neater. But in a field of work, whichever way you m1 doesn't really matter. In fact, I don't even remember which I did here. To m1, you need to take a look at your stitches--notice there's a little connector (or "bar") between each stitch on your needle. To work a m1, we pick up that bar, put it over our left needle, and work a knit stitch. Sometimes you may have to flip the stitch around--we want that bar to twist and close in the stitches on either side. (If you don't twist that stitch, you've essentially made a yarnover in the row below, which leaves a hole in your work. Not ideal!). The blue arrows below show what my m1 look like:
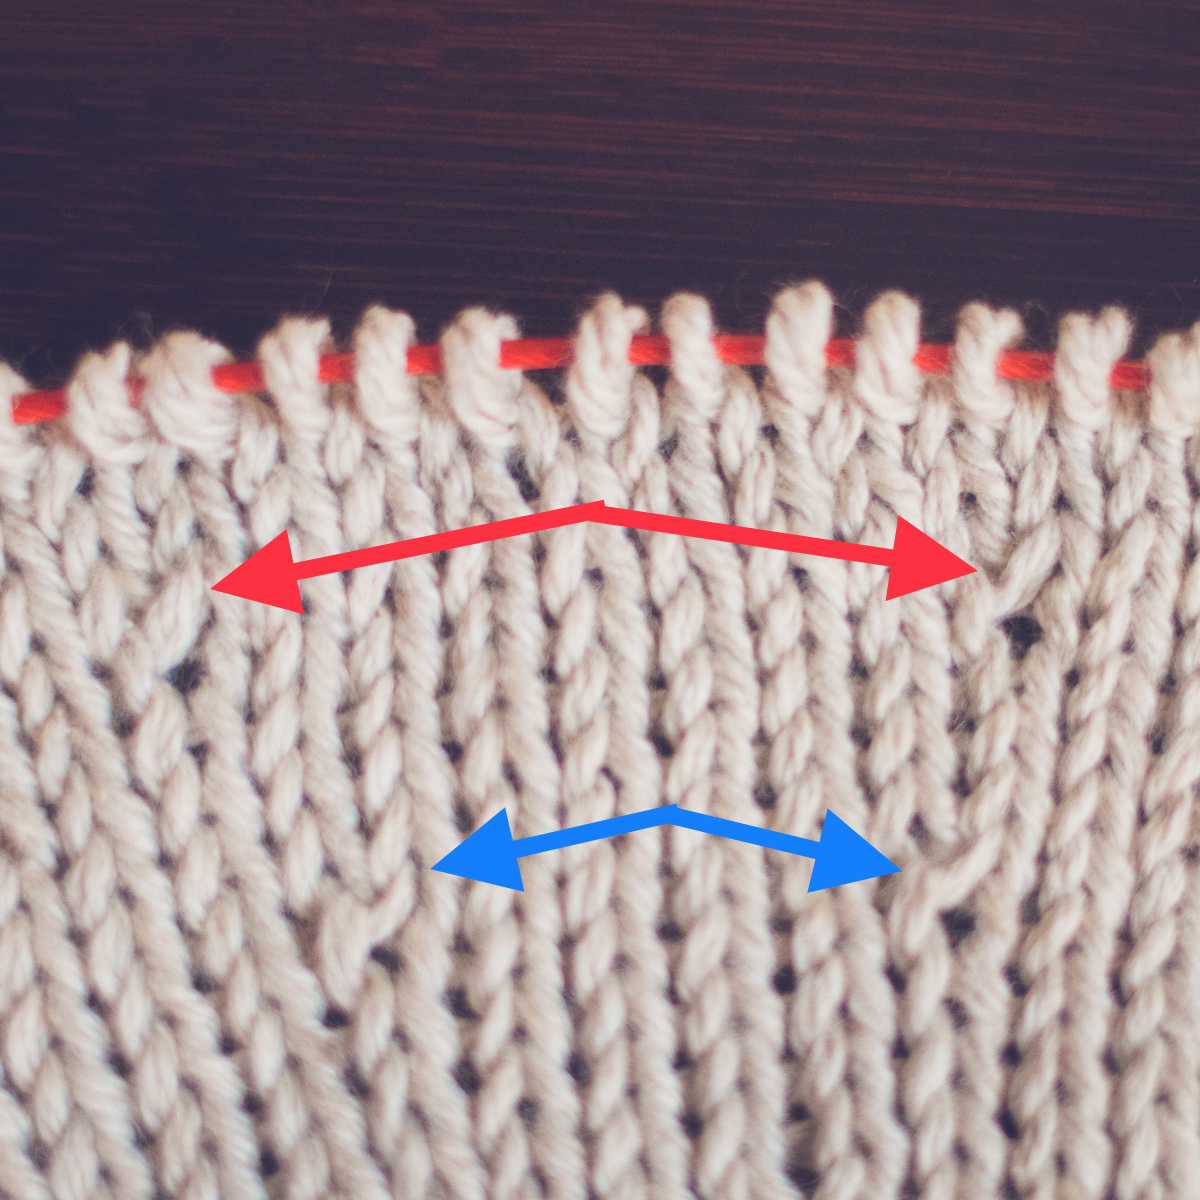
With the red arrow stitches above, I tried another technique. The result is exactly the same as the m1, but if you find that stitch difficult (maybe your stitches are tight & it's hard to pick up the bar, or maybe you're working in a dark yarn and it's hard to see), then you can try this method: put a yarnover in your row each time you're supposed to increase. In the NEXT row, each time you get to a yarnover, purl through the back loop. (Purling through the back loop is a little tricky until you get the hang of it...it's beyond the scope of this blog post, but let me know in the comments below if you want a demo!). Same result as the m1, but some folks find that a little easier. In garter, it's even easier--instead of purling through the back loop, you knit through the back loop. Try them both out!
My little dress is all done, and it's hanging in the store as a shop sample. I made it out of Sugarbush Crisp, which we just got in stock this spring--I love Crisp! It's round and bouncy, and so pleasant to knit with. Next time I knit this pattern, I might try the yarnover method...but as it is I'm happy with how this came out, and it would be super-cute for a little girl in the spring & fall over a turtleneck. If you're in the neighborhood, stop in and check it out!